Checklist for Flange Surface Preparation Before Gasketing
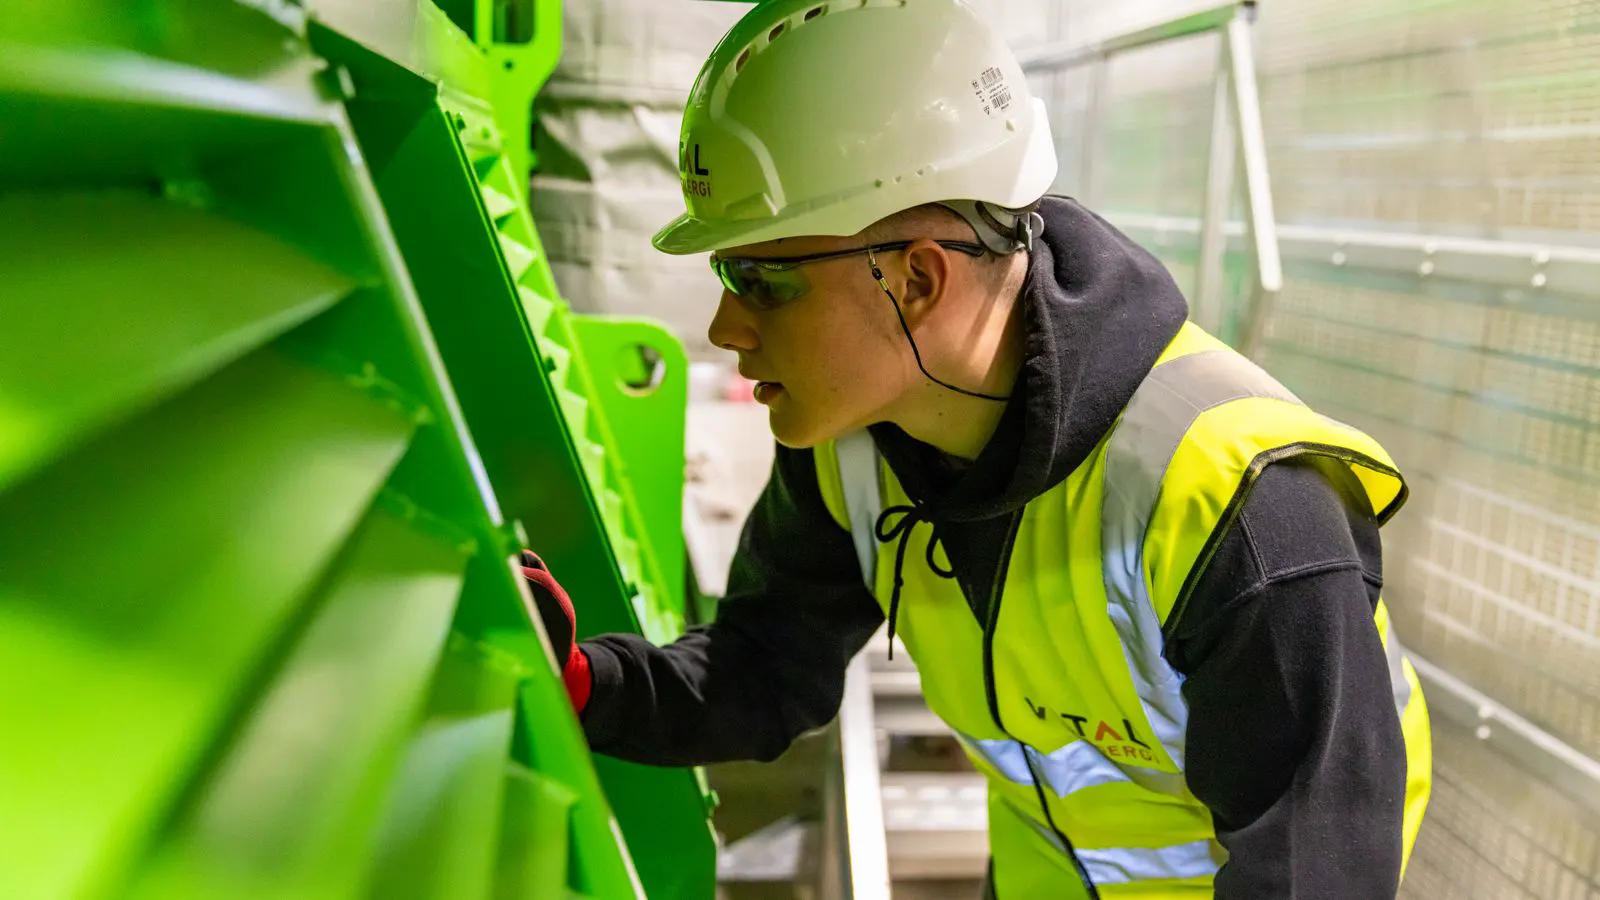
Flange surface preparation requires removing corrosion, burrs, and debris. This checklist covers visual inspection, flatness checks, and protective measures to prevent gasket failure during flange joint assembly.
- Inspect both mating flange faces for corrosion, pitting, and mechanical damage before applying any seal material.
- Use a straightedge and feeler gauge to verify that gaps between the flange and gasket remain within acceptable tolerance.
- Protect the prepared surface from contamination until the joint is assembled and torqued.
- Document findings and take corrective action on any surface that fails the flatness or cleanliness check.
- Match the gasket material and thickness to the surface condition and joint design requirements.
Why Flange Surface Preparation Matters
A gasket does not create a joint; it seals the space between two existing surfaces. If the flange faces are rough, corroded, or contaminated, no amount of torque will force a reliable seal. The gasket compresses to fill voids, but it cannot bridge large gaps, fill deep pits, or push aside heavy debris.
This checklist is built for field engineers and maintenance technicians who are about to break a flange for gasket replacement. It focuses on what you can verify with basic tools before you install the new seal. The goal is to catch surface problems early, when they are cheap to fix, rather than after the joint leaks under pressure.
Cleanliness Checks Before Gasket Installation
Start with a visual sweep of both flange faces. You are looking for rust, scale, dried oil, coolant, or loose particulate. Wipe the surfaces with a clean lint-free cloth. If the cloth picks up more than a light film of grime, the surface has not met the baseline.
For flanges that have been in service for long periods, use a soft brush or a non-abrasive pad to lift stubborn deposits. Avoid steel wool on soft materials like aluminum or certain plastics, as it can leave fine fibers that work their way into the seal path. For heavily corroded steel flanges, a chemical cleaner or a wire brush may be needed, but always rinse and dry the surface completely.
Red flags:
- Black or brown residue that does not wipe away.
- Visible rust pits or pitting on the sealing face.
- Oil film that spreads when touched, indicating a recent leak or poor cleaning.
Flatness and Parallelism Verification
Flatness determines whether the gasket compresses evenly. A warped flange or a flange that sits at an angle to its mating partner creates high-pressure points on one side and low-pressure points on the other. The gasket may hold under static conditions but fail as soon as thermal cycling or vibration shifts the load.
Lay a straightedge across the sealing face in multiple directions. Run a feeler gauge under the straightedge. If you can slide the gauge in and out with no resistance, the surface is flat. If you feel a catch or a gap, measure the thickness of the gauge. Most gasket manufacturers specify maximum allowable step or warp, typically in the range of 0.05 mm to 0.1 mm for standard flanged connections, but always check the specific gasket data sheet or flange standard.
For bolt holes, check that they are not stripped or deformed. Stripped threads can cause uneven bolt preload, which warps the flange under load. If a bolt hole is damaged, the flange may need to be machined or replaced.
Red flags:
- Feeler gauge slides freely across the entire face.
- Visible step or chamfer damage on the sealing edge.
- Bolt holes that are oval, stripped, or show signs of hammering.
Damage Control and Repair Options
Sometimes a flange face has minor damage that can be repaired in the field. Light scratches or shallow gouges can often be ground smooth with a fine abrasive disc. The goal is to restore a continuous, unbroken surface. After grinding, wipe the face clean again, because metal dust is a common contaminant.
For deeper pitting or corrosion, grinding may not be the answer. If the pit is larger than the gasket thickness or if the material has been significantly removed, the flange may no longer be suitable for service. In that case, the flange needs to be sent back to a machining center or replaced. Do not compensate for a damaged flange by using a thicker gasket. This changes the bolt preload and can stress the gasket beyond its design limits.
Red flags:
- Pits deeper than 1 mm or wider than 5 mm.
- Cracks or fractures radiating from the sealing face.
- Evidence of previous repair patches that have peeled or cracked.
Table: Common Surface Defects and Recommended Actions
| Defect | Likely Cause | Recommended Action |
|---|---|---|
| Rust pitting | Exposure to moisture or salt air | Remove with chemical cleaner or light grinding. Inspect for depth. |
| Gouges or scratches | Improper handling or tool contact | Grind smooth and polish. Verify flatness after repair. |
| Oil or chemical residue | Previous leak or cleaning agent | Degrease with solvent. Wipe dry with lint-free cloth. |
| Warped flange face | Uneven bolt torque or thermal shock | Check parallelism. May require machining or replacement. |
| Stripped bolt holes | Repeated disassembly or overload | Tap out and re-tap if minor. Replace flange if severe. |
Protecting the Surface Until Assembly
A flange can be perfectly clean and flat, then ruined ten minutes later by a dropped bolt, a dirty tool, or a puff of dust. Once the surface is prepared, it needs to remain protected until the gasket is installed.
Use a clean cloth or a disposable protective cover to shield the face. Do not lean tools or equipment against the flange. If you must leave the flange open for more than a few minutes, apply a temporary protective cap or a clean rag. Avoid using compressed air to clean the face, as it can blow dust into the bolt holes or onto the gasket face. Use a vacuum or a dry wipe instead.
Red flags:
- Tools resting on the sealing face.
- Open flange left unattended in a dusty or windy area.
- Compressed air used to “blow out” the flange before gasket installation.
Gasket Selection and Surface Compatibility
The condition of the flange surface influences gasket selection. A rough or corroded face may require a more compressible gasket material, such as a fiber or rubber composite, to conform to the irregularities. A smooth, machined face works well with a softer seal, but it also allows for tighter tolerances.
Consider the operating conditions when matching the gasket to the surface. High-temperature service may require a spiral wrap or a metal gasket, which have different flatness requirements than a standard spiral-wound gasket. A spiral-wound gasket, for example, is designed to conform to a certain degree of surface irregularity, but it still needs a clean and reasonably flat face to perform correctly.
If you are replacing a gasket with a different type, check the flange surface for compatibility. A flange designed for a soft gasket may not hold a rigid metal gasket properly. A metal gasket requires a very flat, polished surface. If the flange face has rust or pitting, a metal gasket will not seal.
Red flags:
- Gasket material that is too hard for the surface condition.
- Gasket thickness that exceeds the flange gap.
- Mismatch between gasket material and flange material.
Documentation and Handover
Before you close the flange, document the condition of the surface. Note any repairs made, such as grinding or cleaning. Record the gasket part number and installation date. This information is critical for the next maintenance event.
If you found damage that required repair or replacement, note that in the maintenance log. This helps future engineers understand the history of the flange. It also provides a baseline for future inspections. If the flange was replaced, note the serial number or lot number of the new flange.
This step is not just bureaucratic. It is a risk control measure. A well-documented flange joint is easier to troubleshoot. If a leak occurs in three years, you can look at the log and see what surface condition existed when the gasket was installed.
Final Pre-Installation Checklist
Before you apply torque, run through this final check:
- Both flange faces are free of rust, scale, and debris.
- Straightedge and feeler gauge checks pass within tolerance.
- Bolt holes are clean, undamaged, and free of thread locker residue.
- Gasket is the correct type and thickness for the flange and service.
- Surface is protected from contamination until the gasket is seated.
- Tools are clean and do not contain abrasive particles.
- All personnel have removed gloves that may shed fibers.
If any item fails, stop. Do not install the gasket. Fix the problem first. A reliable seal starts with a reliable surface.
Frequently asked questions
Can I install a gasket on a flange with light rust?
Light rust can usually be removed with a chemical cleaner or a fine abrasive. However, if the rust has created pitting or deep grooves, the surface may not be suitable for sealing. Always remove the rust and inspect the underlying metal.
How do I know if a flange is warped?
Use a straightedge and feeler gauge. Lay the straightedge across the sealing face in multiple directions. If the feeler gauge slides in with no resistance, the face is flat. If you feel a catch or can see a gap, the flange is warped.
What is the maximum allowable gap for a gasket?
This depends on the gasket material and the flange standard. Generally, the gap should be less than the gasket thickness. If the gap is too large, the gasket will not compress enough to seal. Check the manufacturer's data sheet for specific limits.
Should I use thread locker on flange bolts?
Only if the specific flange standard or application requires it. Thread locker can interfere with the gasket if it gets onto the sealing face. Apply it only to the threads, not the bolt head or flange face.
What if the flange face is rough but flat?
A rough but flat surface is often acceptable for a compressible gasket. The gasket will conform to the minor irregularities. However, if the roughness is severe, such as deep pits or scale, the gasket will not seal reliably. Consider grinding the surface or using a different gasket material.