How to Perform a Gasket Leak Detection Test
Gasket leak detection requires isolating the system, applying pressure, and observing for pressure drop or visible seepage. Use soap solutions, electronic sniffers, or thermal imaging depending on the medium. Always confirm the leak location before replacing parts to avoid unnecessary downtime.
- Isolate the section before testing to get accurate readings.
- Choose the detection method based on the fluid medium and system pressure.
- Mark the exact leak location before disassembly.
- Re-test after repair to confirm the seal is holding.
- Keep records of test pressure and findings for future reference.
A gasket leak in an operational system is rarely a mystery. It shows up as a pressure drop, a visible drip, or a sudden change in process temperature. The problem is that identifying the exact source often takes longer than the fix itself. Maintenance engineers need a repeatable method to locate the fault quickly, confirm it is a seal failure, and avoid replacing the wrong part.
This guide walks through the practical steps of a gasket leak detection test. It covers prerequisites, method selection, and the specific checks you need to make before you open a flange.
Prerequisites and Safety Checks
Before you apply pressure to a system, you must verify that the section is isolated. A gasket leak detection test on a live line is dangerous and useless. You need a clear boundary for the test area.
- Confirm the pump is stopped and locked out.
- Close the isolation valves on both ends of the flange or joint.
- Verify the system is drained or purged if the medium is hazardous.
- Check the current operating pressure rating of the equipment.
If you are testing a section of pipe with multiple flanges, isolate the specific joint. Do not test the whole line. Pressure drops across multiple joints will not tell you which gasket failed.
The medium matters. Water is easy to see. Hydrocarbons are not. If you are testing a steam line, you need a method that handles heat. If you are testing a vacuum system, you need a method that detects ingress rather than egress.
Selecting the Right Detection Method
The choice of method depends on the fluid, the pressure, and the environment. Here is a general comparison to help you decide before you start.
| Method | Best For | Limitations |
|---|---|---|
| Soap solution | Low pressure, visible seepage | Does not work on hot surfaces or invisible vapors |
| Electronic leak detector | Low pressure, gas or liquid leaks | Requires calibration; can be confused by nearby leaks |
| Thermal imaging | Steam and high temperature systems | Requires a temperature differential to see the leak |
| Pressure decay | Sealed systems with no visible output | Requires a stable temperature and accurate pressure gauge |
| Tracer gas | Vacuum systems or tight enclosures | Requires a sensitive detector and gas source |
For most flange joints carrying liquids at moderate pressure, a soap solution or an electronic detector is sufficient. For steam lines, thermal imaging is often faster than waiting for condensation to form.
Step-by-Step Leak Detection Procedure
Follow this sequence for a standard flange joint under low to medium pressure. Adjust for your specific medium.
-
Isolate and drain the section.
Close the isolation valves and drain the pipe to the lowest point. This prevents water from masking a leak or adding pressure you did not account for. A dry joint shows a leak faster than a wet one. -
Assemble the test pressure source.
Connect a calibrated pressure gauge and a pressure source. Use a regulated air or nitrogen source for most liquid systems. For steam, use the existing boiler feed if safe to do so. The pressure should match the operating design pressure or be slightly lower if the gasket material is soft. -
Apply the test pressure slowly.
Ramp up the pressure over two to three minutes. A sudden spike can mask a slow leak or damage a weakened gasket. Hold the pressure for at least ten minutes. -
Observe the pressure gauge.
Watch for a steady drop. If the pressure falls more than a few percent over ten minutes, you have a leak. If the gauge stays stable, the gasket is holding. Note the gauge reading and the time. -
Apply the detection medium.
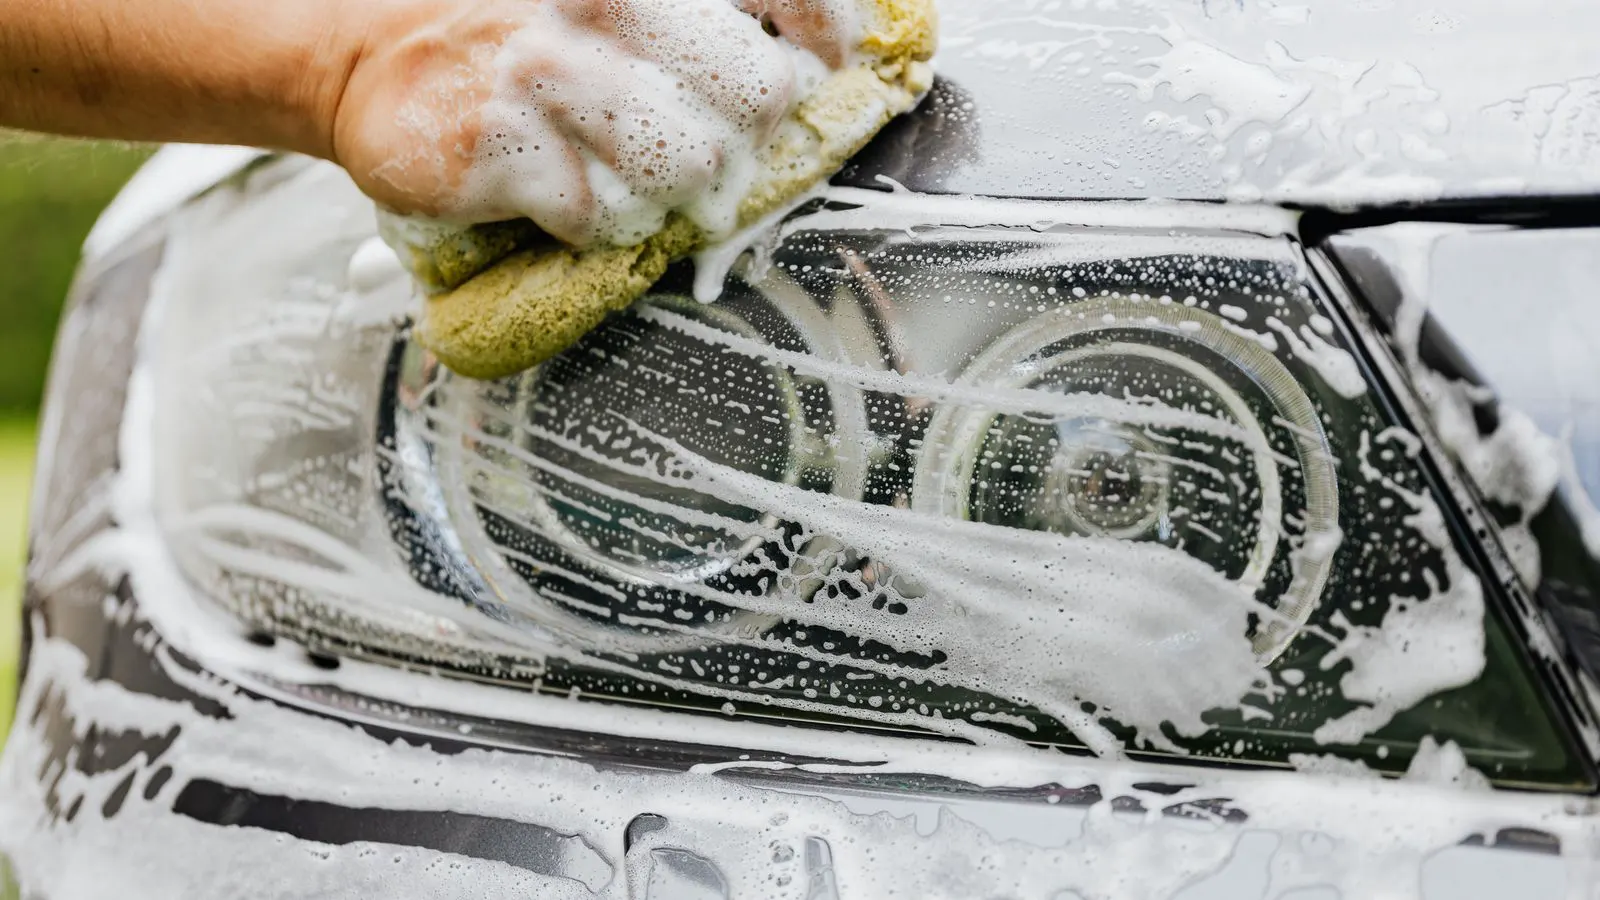
If the gauge is stable but you suspect a small leak, apply your chosen detection method. For a liquid system, apply a thin layer of soapy water to the flange face. Watch for bubbles. For a gas system, sweep an electronic detector across the joint. -
Mark the leak location.
If you find bubbles or a positive reading, mark the exact spot with a marker or tape. Do not disassemble yet. The mark tells you where the gasket failed and whether it is a face seal or a bolt line issue. -
De-pressurize and inspect.
Vent the system to atmospheric pressure. Open the flange. Look at the gasket face. A clean gasket with a small hole is one thing. A crushed or extruded gasket is another. The gasket condition helps you understand the cause. -
Replace and re-test.
Install the new gasket. Do not over-tighten. Follow the specified bolt torque sequence. Re-apply the test pressure and repeat the leak detection steps. The system must pass the test before you return it to service.
Common Mistakes in Leak Testing
Even experienced engineers make errors here. These are the ones that cause the most rework.
- Testing with the wrong pressure. Too low, and a small leak will not show. Too high, and you may crush the gasket or damage the flange face. Use the design pressure or a specified test pressure.
- Ignoring temperature effects. A system that was hot will cool down. Pressure drops as it cools. Let the system stabilize at ambient temperature before reading the gauge.
- Using the wrong detection fluid. Oil-based soaps can leave residue that attracts dirt. They can also damage some elastomer gaskets. Use a compatible solution.
- Assuming the first leak is the only one. A flange may have multiple weak points. A leak at the three o’clock position does not mean the nine o’clock position is good. Check the entire joint.
- Skipping the re-test. Many repairs fail because the technician replaced the gasket but did not verify the fix. Always re-test.
Final Verification and Documentation
The test is not over when the flange is closed. You need to confirm the seal is holding under realistic conditions.
Apply the normal operating pressure. Run the system for at least thirty minutes. Watch the gauge. Check the joint visually. If the medium is a gas, use a detector to sweep the joint again.
Document the test. Record the date, the test pressure, the duration, the method used, and the result. Note the gasket material and the part number of the replacement. This record is critical if you have a leak repeat in six months. It tells you whether the gasket material was wrong or if the flange face was damaged.
Keep the records with the equipment maintenance log. If you are working under a quality standard, the test record may be required for audit. It is also a useful reference when you select the next gasket material.
When to Escalate the Test
Some leaks are not visible and some pressures are too high for a simple soap test. If you are testing a high-pressure gas line or a vacuum system, you may need a more specialized method.
- For vacuum systems, use a tracer gas like helium or hydrogen. Inject the gas into the vacuum side and detect it on the atmospheric side.
- For high-pressure liquid systems, use a pressure decay test with a high-accuracy gauge. The gauge should have a resolution fine enough to detect small drops.
- For complex assemblies, consider a full pressure test of the entire section. This may require a certified test procedure.
Do not guess. If the leak is not found after the standard steps, step back and review the system layout. A leak may be originating from a different flange or a valve stem. Isolate more sections if necessary.
Conclusion
A gasket leak detection test is a systematic process. It starts with isolation and ends with verification. The goal is to find the leak, confirm it, and fix it the first time. Use the right method for your medium and pressure. Mark the leak before you open the flange. And always re-test after repair.
The tools are simple. The discipline is what matters. A clean test record and a verified seal will save you from the next emergency call.
Frequently asked questions
Can I use a soap solution on a hot flange?
No. Hot surfaces will evaporate the water too quickly to see bubbles. Use thermal imaging or an electronic detector for high-temperature joints.
What pressure should I use for a gasket leak test?
Use the operating design pressure or a specified test pressure. Do not exceed the flange rating. For soft gaskets, a lower pressure may be sufficient.
How long should I hold the pressure during a test?
Hold the pressure for at least ten minutes. This gives you time to observe a slow leak and for the system to stabilize thermally.
Do I need to test every flange after a repair?
Yes. Always re-test the repaired joint. If the system is under pressure, you can do a visual check, but a pressure test is more reliable.
What if the pressure gauge drops but I cannot find the leak?
Check the temperature. A cooling system will show a pressure drop. Let it stabilize. If the drop persists, isolate smaller sections to find the leak.